DIY Gravel Driveway: Complete Guide to Installation & Maintenance
Creating a gravel driveway yourself can save thousands while delivering professional-quality results that enhance your property value. This comprehensive guide reveals insider techniques used by experienced contractors, from selecting the perfect stone type to mastering compaction methods that prevent common failures.
You’ll discover cost-effective alternatives to expensive installations, learn essential drainage solutions that protect your investment, and understand maintenance strategies that extend driveway life by decades. Whether you’re replacing an existing surface or building from scratch, these proven methods eliminate guesswork and costly mistakes.
This comprehensive guide covers everything from material selection to long-term maintenance, helping you achieve professional results without hiring a driveway installer. Master the art of proper excavation, material calculations, and seasonal care requirements that separate amateur attempts from lasting success stories.
Planning Your Gravel Driveway Project
Transform your property entrance with proper planning and preparation. Understanding soil conditions, drainage requirements, and local regulations ensures your DIY project meets professional standards while avoiding costly mistakes that require expensive corrections later.
Assessing Site Conditions
Soil composition plays a crucial role in driveway longevity. Clay soils retain moisture and may require additional drainage solutions, while sandy soils provide excellent natural drainage but need stabilization.
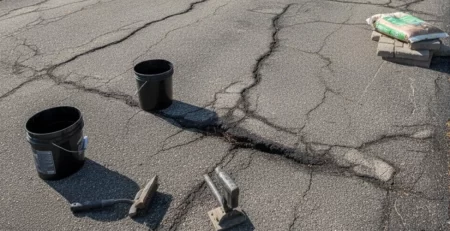
Test your soil by digging several holes along the proposed driveway path. Check for water accumulation after rainfall, as standing water indicates poor drainage that must be addressed before installation.
Consider the slope gradient of your planned driveway. Gentle slopes between 1-3% provide optimal drainage without causing gravel migration during heavy rainfall or vehicle traffic.
Obtaining Necessary Permits
Contact your local building department to determine if permits are required for driveway construction. Many municipalities have specific requirements for driveway width, setbacks from property lines, and drainage specifications.
Review homeowner association guidelines if applicable, as some communities restrict driveway materials or require architectural approval for exterior modifications.
Document your planned driveway location with photographs and measurements, as some areas require survey verification to ensure compliance with property boundaries and easements.
Measuring and Layout Planning
Calculate the total square footage needed by measuring length and width accurately. Standard residential driveways range from 10-12 feet wide for single vehicles, while two-car driveways require 20-24 feet.
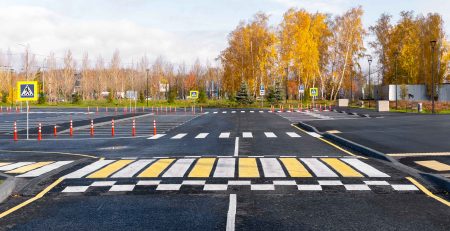
Mark the driveway boundaries using spray paint or stakes with string. This visual guide helps maintain consistent width and alignment during excavation and material placement.
Plan for proper drainage by ensuring the driveway slopes away from structures. A minimum slope of 1/4 inch per foot prevents water accumulation and ice formation. Explore custom resin finishes that provide enhanced weather resistance and reduced gravel displacement while offering superior longevity compared to traditional loose stone surfaces.
Material Quantity Calculations
Determine gravel quantity using the formula: length × width × depth ÷ 27 = cubic yards needed. Most driveways require 3-4 inches of gravel depth for residential use.
Add 10-15% extra material to account for compaction settling and future maintenance needs. Ordering slightly more gravel prevents project delays and ensures consistent color matching.
Consider delivery logistics, including access routes for trucks and temporary storage areas for materials. Plan delivery timing to coincide with favorable weather conditions for installation.
Installation Process Step-by-Step
Execute professional-quality installation using systematic techniques and proper equipment. Following established procedures ensures optimal results while avoiding common mistakes that compromise driveway performance, appearance, and longevity throughout years of regular use and seasonal weather exposure.
Initial Gravel Placement
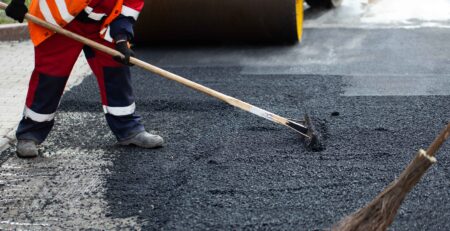
Spread gravel evenly using rakes and shovels, working in sections to maintain a consistent thickness. Avoid dumping large piles that create uneven distribution and compaction challenges.
Start from the lowest elevation point and work upward, allowing gravity to assist with proper grading and drainage slope maintenance throughout the installation process.
Check thickness regularly using measuring tools to ensure adequate depth. Insufficient gravel depth leads to premature wear and potential damage from vehicle traffic loads.
Proper Compaction Techniques
Use a plate compactor for thorough consolidation, making multiple passes in different directions. Proper compaction increases stability and reduces future settling significantly.
Compact in lifts if using thick gravel layers, as attempting to compact excessive depth at once produces poor results and unstable surfaces. Maintain consistent moisture during compaction for optimal results. Slightly damp conditions help particles bind together without creating muddy or unstable conditions.
Consider upgrading to resin surfaces in Essex for improved durability and reduced maintenance requirements while maintaining the natural stone appearance you desire.
Final Grading and Smoothing
Grade the surface using rakes and hand tools to achieve proper drainage slopes and smooth transitions. Pay special attention to crown formation for effective water shedding.
Remove high spots and fill low areas to create an even surface that drains properly while providing comfortable vehicle access and pedestrian safety.
Test the completed surface by walking the entire driveway and checking for soft spots, depressions, or areas requiring additional attention before final approval. Consider Low-Noise Road Surfacing alternatives for enhanced durability and reduced maintenance requirements.
Quality Control Inspection
Inspect edge definition and ensure clean boundaries between the driveway and surrounding landscape areas. Well-defined edges enhance appearance and prevent gravel migration.
Check drainage performance by observing water flow during the next rainfall. Proper installation should direct water away from structures without creating erosion problems.
Document the installation with photographs for future reference and potential warranty claims if using contracted services for any portion of the project.
Selecting the Right Gravel Type
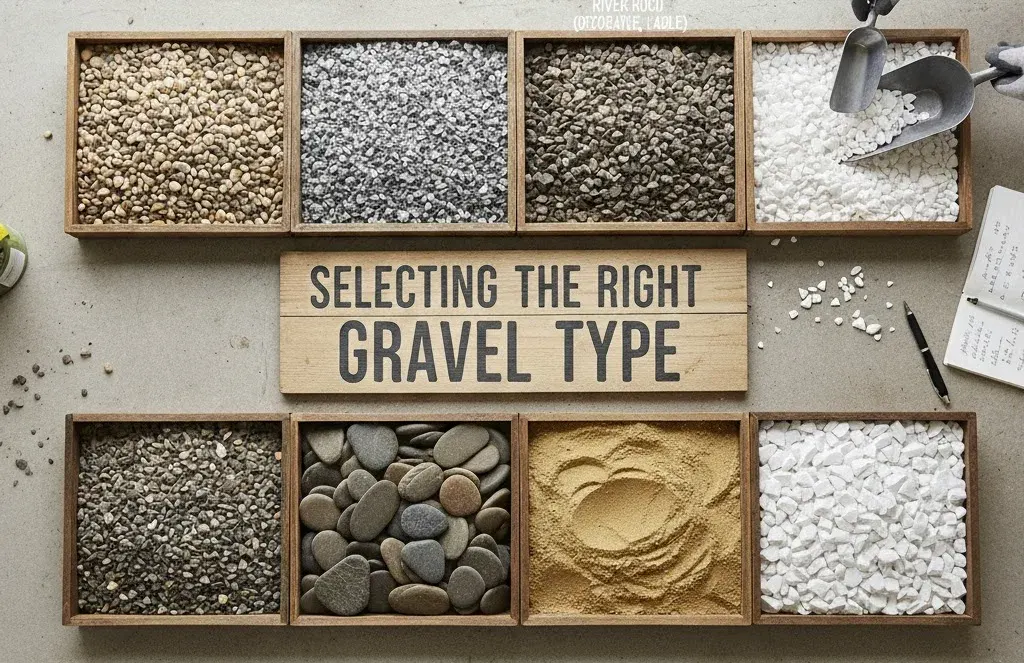
Choose appropriate gravel materials based on climate, traffic patterns, and aesthetic preferences. Different gravel types offer varying benefits for drainage, stability, and visual appeal, making material selection critical for long-term driveway performance and satisfaction.
Understanding Gravel Classifications
Crushed stone provides excellent compaction and stability due to angular edges that interlock when compressed. Popular sizes include 3/4-inch and 1/2-inch crushed limestone or granite.
Pea gravel offers attractive appearance but limited stability for vehicle traffic. This rounded stone works better for decorative applications or low-traffic areas rather than main driveways.
Crusher run combines various stone sizes with fine particles, creating a self-binding surface that compacts firmly. This material provides excellent stability but may generate dust in dry conditions.
Climate Considerations
Cold weather areas benefit from crushed stone that resists freeze-thaw cycles. Angular stones maintain structure better than rounded materials when exposed to temperature fluctuations and moisture.
Hot climates require materials that reflect heat and resist degradation from UV exposure. Light-colored stones help reduce surface temperatures and provide better comfort for pedestrians.
Consider drainage requirements based on local rainfall patterns. Areas with heavy precipitation need larger stone sizes and improved sub-base preparation for proper water management.
Aesthetic Options
Natural stone colors range from gray limestone to reddish granite, allowing coordination with existing landscape elements and architectural features for enhanced curb appeal.
Consider maintenance requirements when choosing colors. Light-colored gravels show stains and tire marks more readily but provide better heat reflection in sunny climates.
Evaluate how different materials will look when wet, as some stones change appearance significantly during rainfall, affecting overall visual consistency throughout seasons.
Budget Considerations
Local materials typically cost less due to reduced transportation expenses. Research nearby quarries and suppliers to find quality options within your budget range.
Calculate long-term costs including maintenance materials and potential replacement needs. Higher-quality materials may cost more initially but provide better value over time. Consider bulk pricing advantages when ordering larger quantities.
Coordinate with neighbors for combined deliveries to reduce per-ton costs and shipping fees. Also, investigate professional Cold Weather Surfacing solutions for areas experiencing harsh winter conditions that may compromise traditional gravel driveway performance and require frequent repairs.
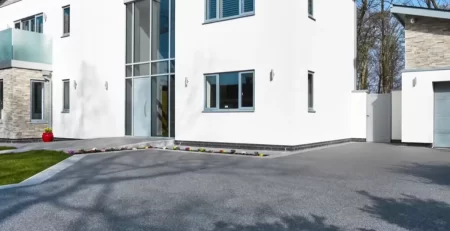
Trusted Surfacing Services Across the UK
Total Surfacing Solutions proudly provides high-quality surfacing and driveway installations across the UK, specialising in projects throughout Hertfordshire and Essex. Our skilled contractors bring years of industry experience to every job, ensuring strong, attractive results.
Hertfordshire:
Homeowners and businesses in Hertfordshire rely on us for a wide variety of surfacing solutions. We work with tarmac, resin, and other durable materials to create driveways in Hertfordshire, pathways, playground surfaces, car parks, and more. We also offer precision line marking to support safe, well-organised public and commercial areas.
Essex:
We’re known for delivering premium resin driveways in Essex, tarmacadam surfacing, driveway refurbishments, and large commercial resurfacing projects. Our playground and sports surface installations in Essex are designed to offer both safety and visual appeal, making them ideal for schools and recreational spaces.
Whether you need a brand-new driveway or want to restore an existing surface, our team is ready to help across Hertfordshire and Essex.
Frequently Asked Questions
What’s the lifespan difference between gravel and resin driveways?
Gravel driveways typically offer a shorter service life than resin-bound surfaces. Expect around 5–10 years for gravel with regular top-ups versus roughly 15–25 years for resin-bound systems when installed on a solid sub-base and maintained periodically.
Is resin slippery when wet compared to gravel?
In wet conditions, resin-bound surfaces are designed with textured aggregates that provide a stable, even footing without loose stones. The absence of scatter on resin-bound means a consistent grip for pedestrians, prams, and mobility devices, whereas gravel may demand stabilisation grids to approach similar stability on finer grades and still requires ongoing maintenance to retain that performance.
Which is better for drainage: resin or gravel driveways?
For drainage, properly installed resin-bound systems in Hertfordshire are permeable, allowing water to pass through the bound matrix into the base. This helps limit puddling and supports SuDS-friendly designs, while loose gravel also drains well through voids but is more prone to movement, washout, and ruts that disrupt flow paths.
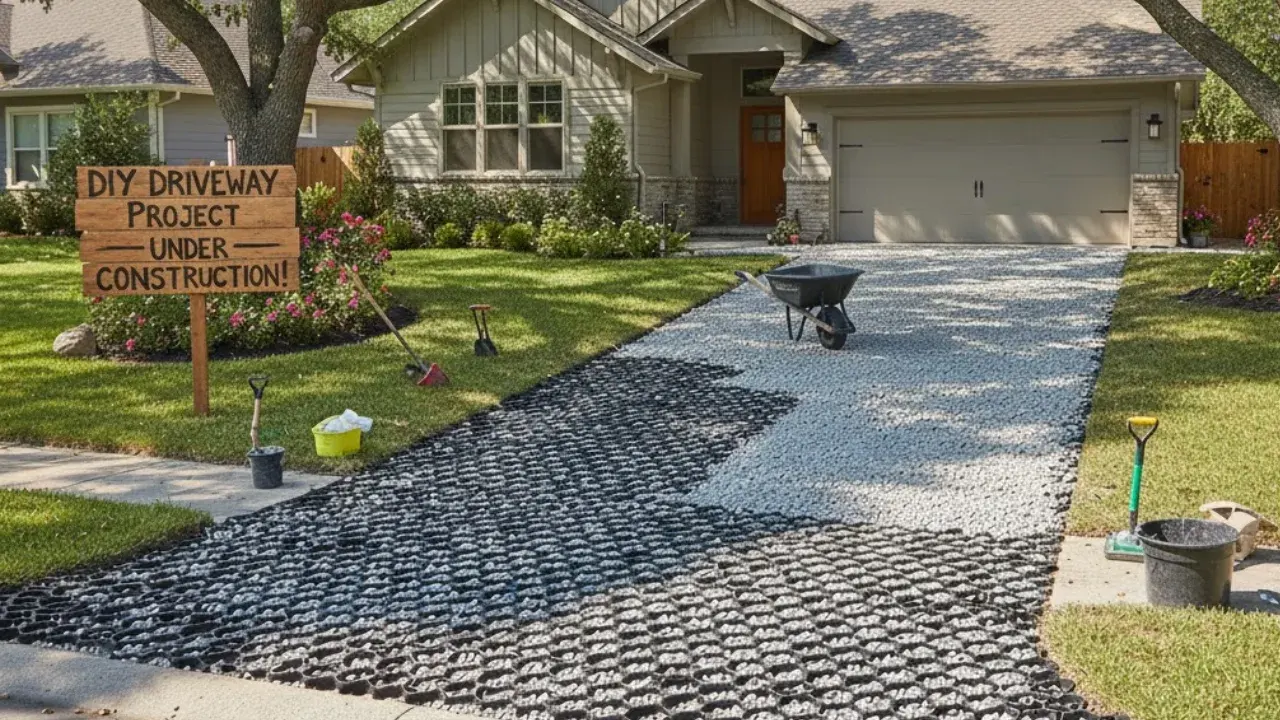
Final Thoughts: Your DIY Success Story
Building a DIY gravel driveway provides homeowners with an affordable solution that combines functionality with natural beauty. Through careful planning, proper material selection, and systematic installation techniques, you can achieve professional-quality results while saving significant costs compared to contractor services.
The key to long-term success lies in thorough preparation, quality materials, and consistent maintenance. Your investment in proper excavation, drainage, and compaction will pay dividends through years of reliable service and enhanced property value.
Remember that professional assistance remains available for challenging aspects like drainage solutions or specialized applications. Whether you complete the entire project yourself or combine DIY efforts with expert consultation, your gravel driveway will provide years of dependable service and aesthetic appeal.