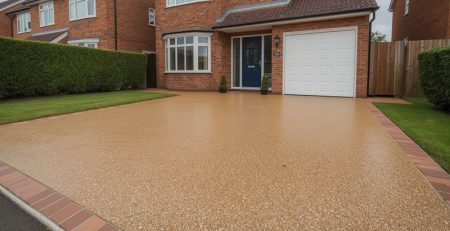
How to Seal a Resin Driveway? Essential Steps and Expert Guide
Protecting your resin stone driveway investment requires proper sealing techniques that extend its lifespan and maintain its pristine appearance.
Sealing a resin driveway involves surface assessment and cleaning, crack repair, weather verification, and precise application methods that professionals use to achieve lasting results.
This comprehensive guide reveals the critical timing secrets that determine success or failure, plus insider techniques for selecting the right materials and avoiding costly mistakes.
You’ll discover why 90% of DIY sealing failures stem from three preventable errors and learn the exact 6-step professional process that ensures optimal protection against UK weather conditions.
Master these proven strategies to save thousands in premature replacement costs while achieving showroom-quality results that enhance your property’s value for years to come.
Steps to Seal a Resin Driveway
Sealing a resin driveway requires systematic preparation and precise application techniques to ensure optimal results.
Step 1: Surface Assessment and Cleaning
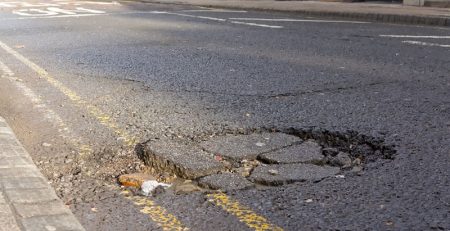
Begin by thoroughly inspecting your driveway for cracks, stains, or loose aggregate stones. Remove all debris, leaves, and dirt using a stiff-bristled broom or pressure washer. Pay special attention to oil stains, which can prevent proper sealant adhesion.
Allow the surface to dry completely for at least 24 hours after cleaning. This step is crucial as any trapped moisture can compromise the sealing process and lead to premature failure.
Step 2: Crack and Damage Repair
Address any structural issues before applying sealant. Fill small cracks with appropriate resin repair compounds, ensuring they’re flush with the surrounding surface. For larger damage, you may need professional intervention from a specialist in commercial and residential surfacing.
Sand down any protruding aggregate stones that might interfere with smooth sealant application. This preparation ensures an even finish across the entire surface.
Step 3: Weather Condition Verification
Check the weather forecast to ensure optimal sealing conditions. Ideal temperatures range between 10°C and 25°C with low humidity and no precipitation expected for 24-48 hours.
Avoid sealing during extreme weather conditions or when frost is anticipated, as these factors can significantly impact the curing process and final results.
Step 4: Sealant Selection and Preparation
Choose a high-quality polyurethane sealant specifically designed for resin-bound surfaces. These products offer superior UV protection and weather resistance compared to standard alternatives.
Mix the sealant according to the manufacturer’s instructions, ensuring proper ratios for optimal performance. Some products require two-part mixing, so follow guidelines precisely.
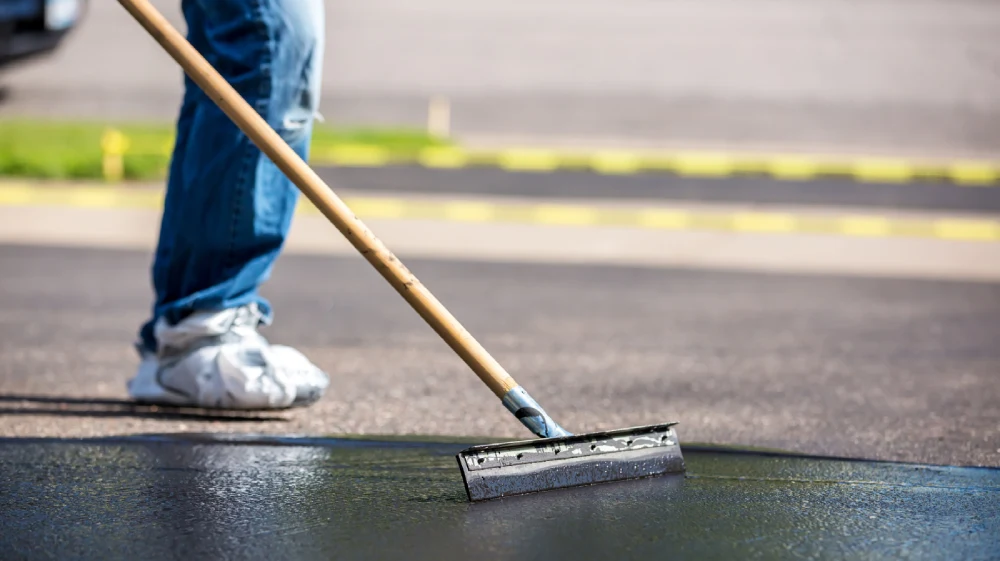
Step 5: Application Technique
Apply the sealant using a long-handled roller or sprayer, working in manageable sections. Begin at the furthest point from your exit to avoid walking on freshly sealed areas.
Maintain a wet edge throughout application to prevent visible lap marks. Work systematically across the surface, ensuring even coverage without oversaturation.
Step 6: Quality Control and Finishing
Inspect your work for missed spots or uneven coverage while the sealant remains workable. Address any issues immediately to maintain consistency across the entire surface.
Remove any equipment marks or imperfections using appropriate tools before the sealant begins to cure.
Benefits of Professional Resin Driveway Sealing
Professional sealing services offer significant advantages over DIY approaches, particularly for valuable property investments.
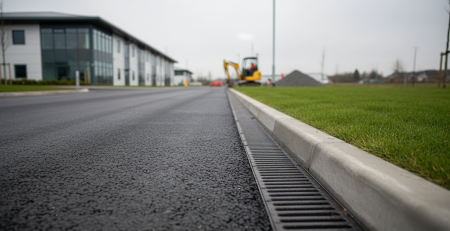
Expert application ensures optimal coverage and longevity, while professional-grade materials provide superior protection against UK weather conditions. Specialists possess the knowledge to address unique challenges and deliver consistent results.
Professional services often include warranty coverage, providing peace of mind and protection for your investment. They also have access to commercial-grade equipment that achieves better results than consumer alternatives.
Choosing the Right Sealing Products
Selecting appropriate sealing materials is crucial for achieving long-lasting protection and maintaining your driveway’s appearance.
Polyurethane-based sealants offer excellent durability and UV resistance, making them ideal for UK climate conditions. These products provide superior protection against freeze-thaw cycles and heavy rainfall.
Consider products with anti-slip additives if your driveway experiences heavy foot traffic or slopes. These formulations enhance safety while maintaining protective qualities.
Maintenance Schedule and Best Practices
Establishing a regular maintenance routine maximizes your resin driveway’s lifespan and preserves its aesthetic appeal.
Annual inspections help identify potential issues before they become costly problems. Look for signs of wear, discoloration, or sealant degradation that might require attention.
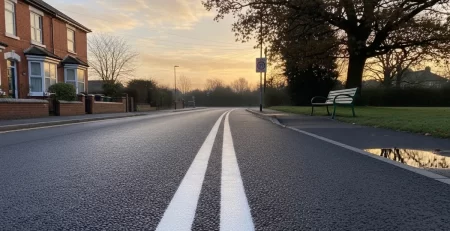
The lasting advantages of regular road maintenance principles apply equally to residential driveways, where preventive care significantly reduces long-term costs and extends surface life.
Clean your sealed driveway monthly using mild detergents and avoid harsh chemicals that might damage the protective coating. Address stains promptly to prevent permanent discoloration.
Common Sealing Mistakes to Avoid
Understanding typical sealing errors helps ensure professional-quality results and prevents costly remedial work.
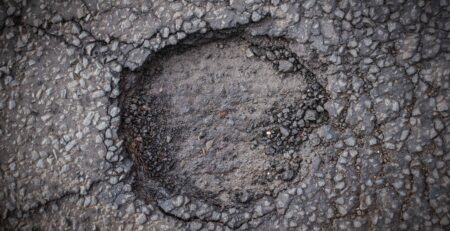
Insufficient surface preparation represents the most common cause of sealing failure. Rushing this crucial step often leads to poor adhesion and premature coating breakdown.
Applying sealant in inappropriate weather conditions frequently results in uneven coverage, extended curing times, or complete application failure, requiring costly reapplication.
Over-application wastes materials and can create an uneven, unsightly finish that may require removal and reapplication. Follow the manufacturer’s guidelines for coverage rates precisely.
Environmental Considerations and Sustainability
Modern resin driveway sealing incorporates sustainable road surfacing solutions that minimize environmental impact while delivering excellent performance.
Choose low-VOC sealants that reduce harmful emissions and comply with environmental regulations. These products offer comparable protection while supporting cleaner air quality.
Consider the lifecycle benefits of proper sealing, which extends surface life and reduces the need for complete replacement, ultimately conserving resources and reducing waste.
Professional vs DIY Sealing
Deciding between professional services and DIY application depends on various factors, including budget, experience, and project complexity.
DIY sealing can save money, but requires significant time investment and carries risks of suboptimal results. Professional services guarantee quality outcomes with appropriate warranties and insurance coverage.
Consider your skill level and available time when making this decision. Complex projects or valuable properties often benefit from professional expertise and specialized equipment.
Cost Factors and Budget Planning
Understanding sealing costs helps you budget effectively and make informed decisions about maintenance timing and approaches.
Material costs vary significantly based on product quality and coverage requirements. Professional-grade sealants typically cost more initially but offer superior longevity and performance.
Factor in preparation costs, equipment rental, and potential remedial work when calculating DIY project expenses. Professional services often provide better value when these hidden costs are considered.
Frequently Asked Questions
How often should I seal my resin driveway?
Most resin driveways require resealing every 3-5 years, depending on traffic levels, weather exposure, and initial installation quality. High-traffic areas may need more frequent attention, while properly maintained surfaces can extend intervals between applications.
Regular visual inspections help determine optimal timing, with signs like fading colour or increased permeability indicating the need for resealing.
Can I seal my resin driveway during winter?
Winter sealing is generally not recommended due to low temperatures, high humidity, and unpredictable weather conditions. Most sealants require temperatures above 10°C for proper curing and adhesion.
Plan sealing projects for late spring through early autumn when conditions are more stable and predictable for optimal results.
What happens if it rains after sealing?
Rain exposure within 24 hours of sealing can seriously compromise the application, potentially requiring complete removal and reapplication. Most sealants need adequate curing time before moisture exposure.
Check weather forecasts carefully and postpone sealing if precipitation is expected within the manufacturer’s recommended curing period.
How long before I can use my driveway after sealing?
Foot traffic is typically safe after 4-6 hours, while vehicle access usually requires 24-48 hours of curing time. These timeframes can vary based on temperature, humidity, and specific product requirements.
Follow manufacturer guidelines precisely and avoid heavy loads until the sealant has fully cured to prevent damage or marking.
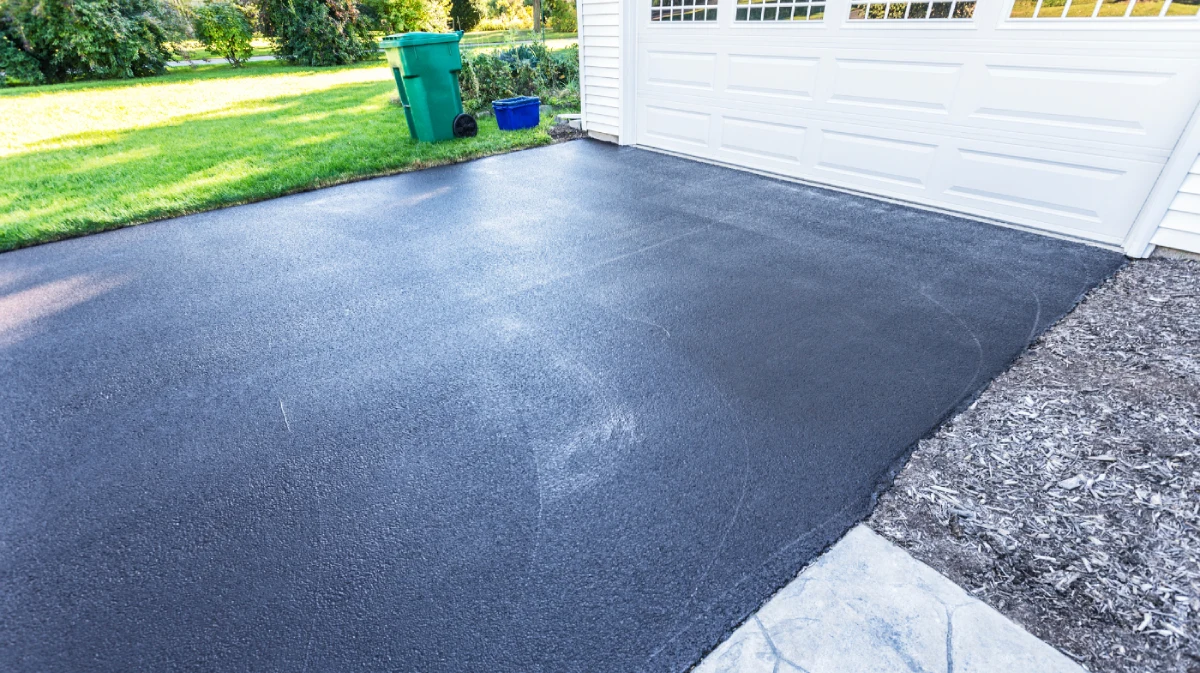
Protect Your Investment with Proper Sealing
Sealing your resin driveway represents a crucial maintenance investment that preserves both appearance and structural integrity. Following proper preparation, application, and maintenance procedures ensures optimal protection against UK weather conditions while extending your surface’s productive lifespan.
Whether choosing professional services or tackling DIY application, understanding these essential steps empowers you to make informed decisions that protect your property investment for years to come.