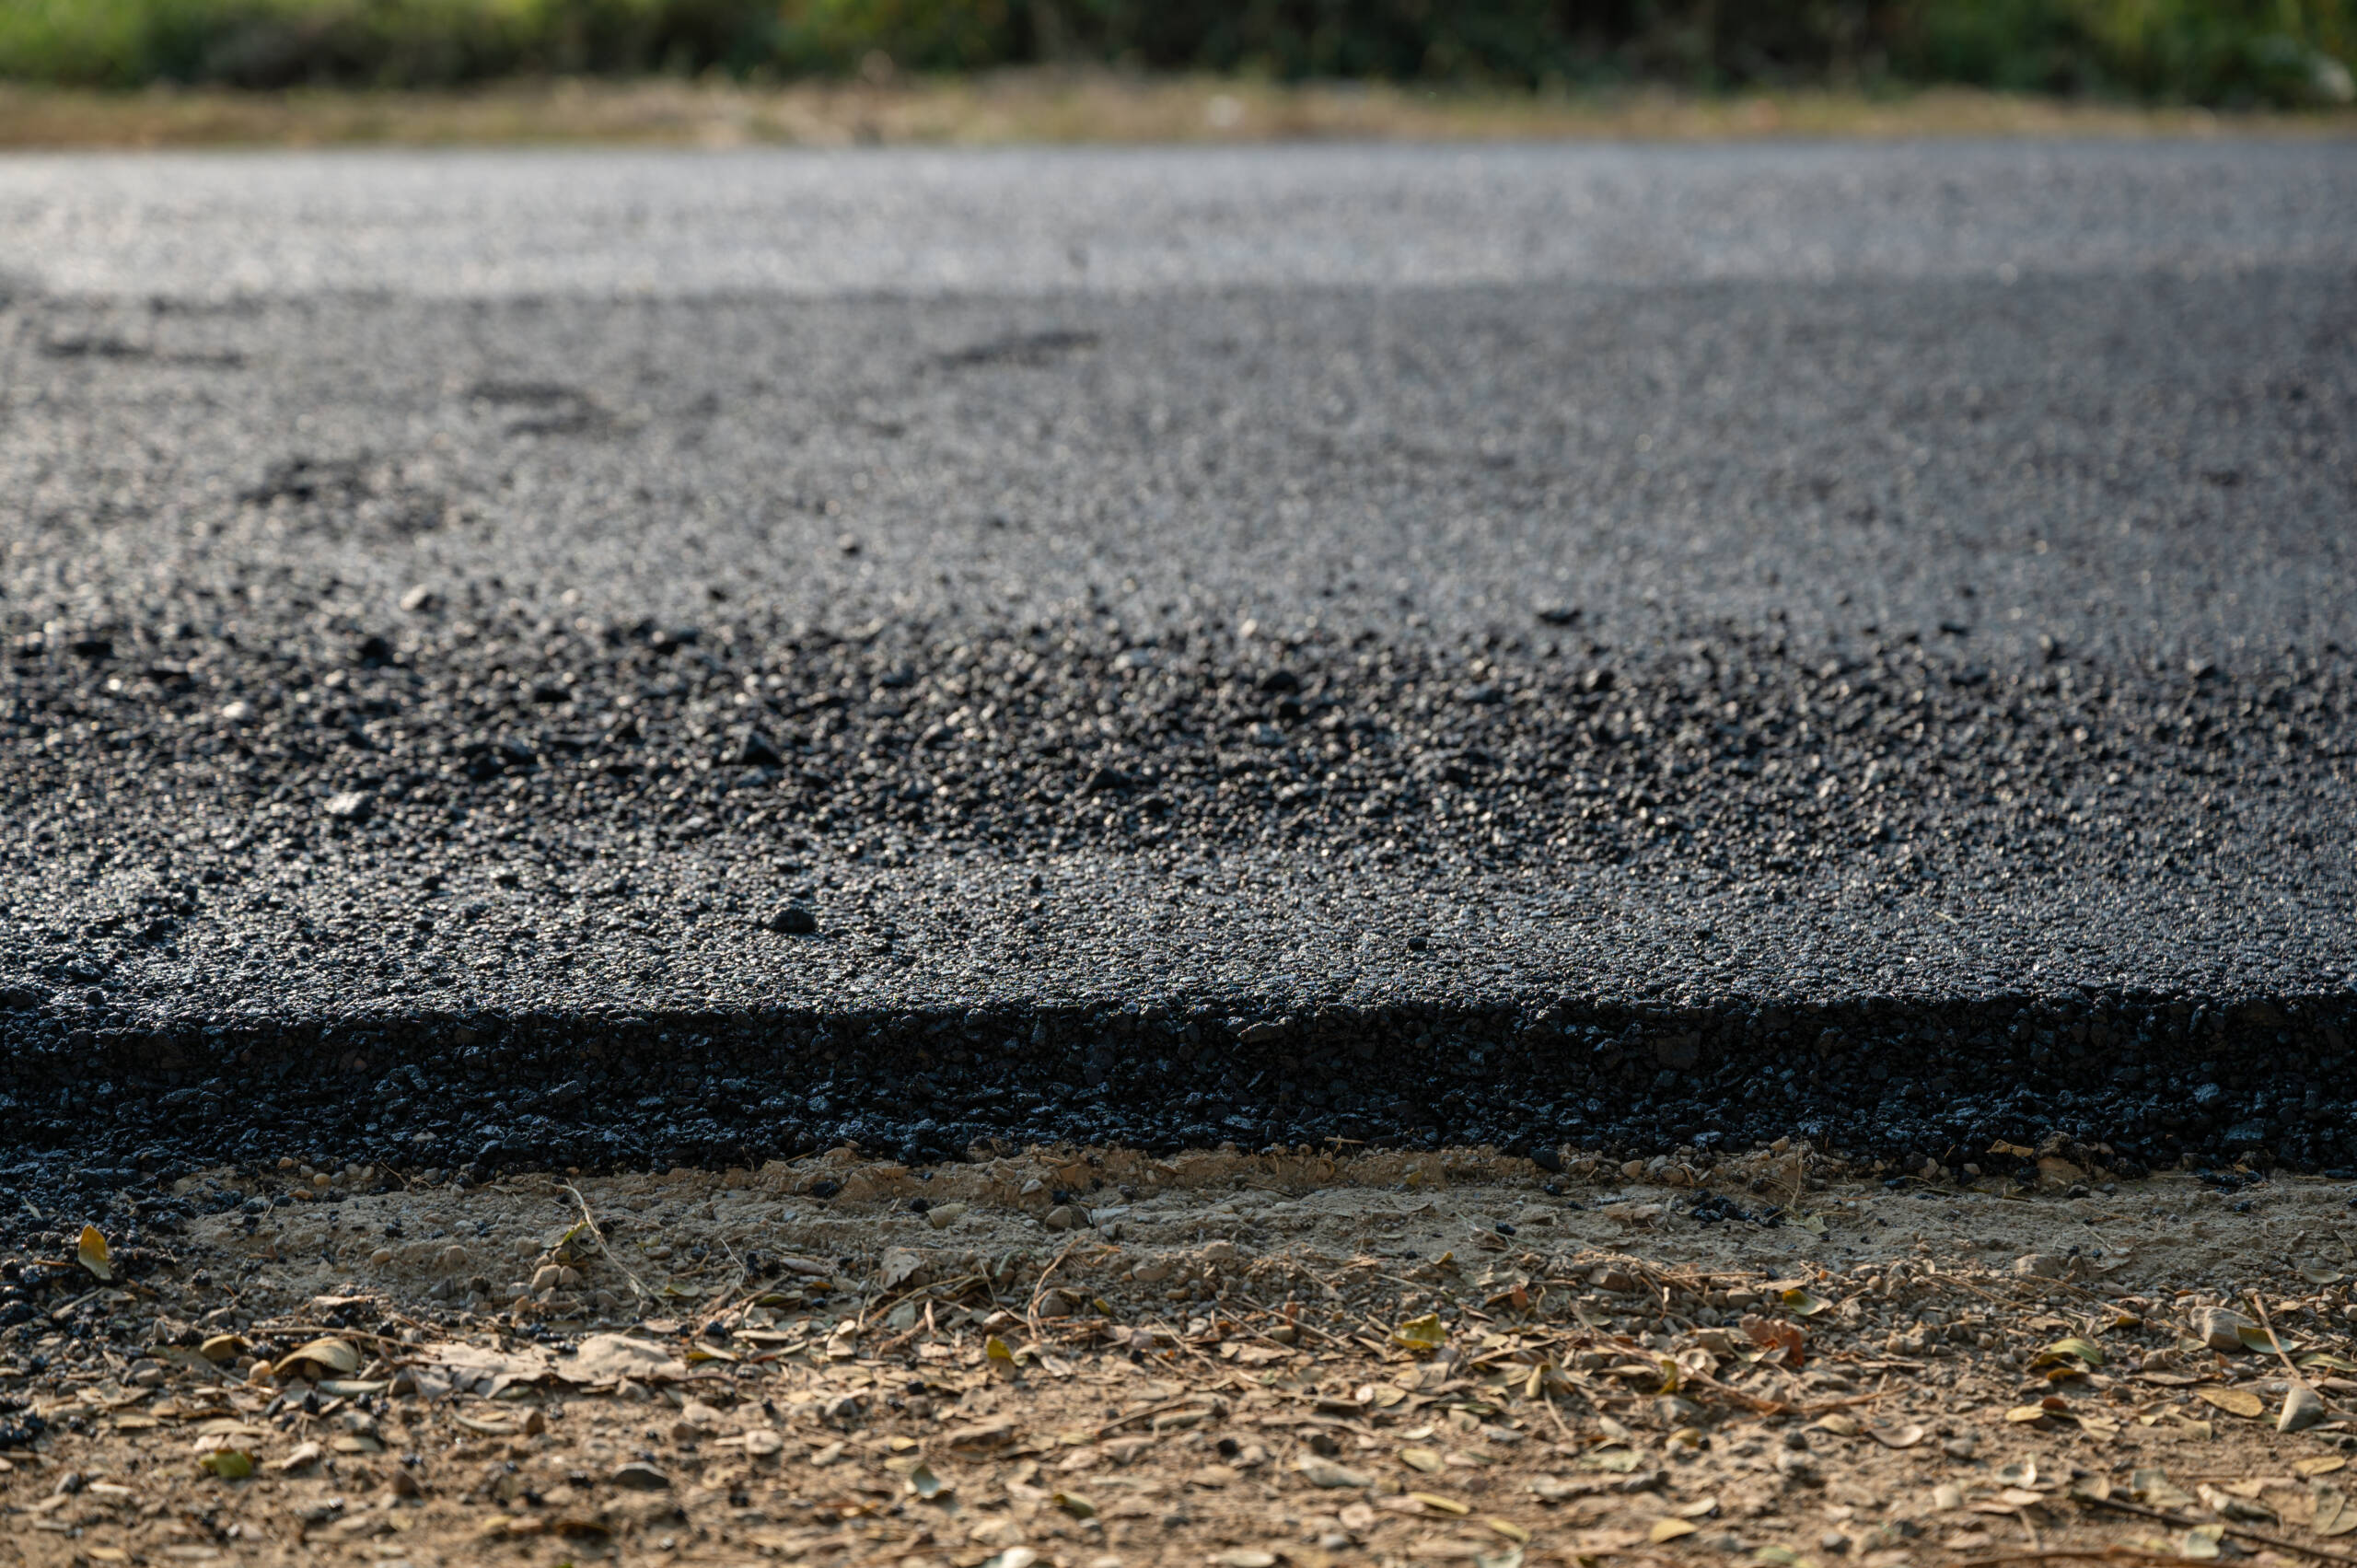
Prep Your Site for Tarmac Installation
Installing a tarmac driveway or pathway can significantly enhance the appearance and functionality of your property. However, before the installation process begins, it is crucial to properly prepare your site to ensure a smooth and long-lasting result. This guide will walk you through the essential steps to get your site ready for tarmac installation.
If you’d like to see examples of successful projects, browse our tarmac installation portfolio for inspiration.
Assess Your Site
Before starting any work, take the time to assess your site and plan the layout of your tarmac surface. Consider the following factors:
- The purpose of the tarmac surface (driveway, pathway, or parking area)
- The size and shape of the area to be covered
- The slope and drainage requirements of the site
- Any existing features or obstacles that need to be accommodated

Clear the Area
Once you have a clear plan in place, it’s time to prepare the site:
1. Remove any existing surface materials, such as grass, gravel, or old paving.
2. Clear away any debris, including rocks, roots, and vegetation.
3. If there are any large trees nearby, consider cutting back overhanging branches to prevent future damage to the tarmac surface.
It’s important to create a clean and level base for the tarmac to ensure a stable and durable finished product.
Excavate and Level the Ground
With the area cleared, you can now focus on creating a solid foundation for your tarmac surface:
1. Excavate the site to a depth of at least 150mm (6 inches) to accommodate the sub-base and tarmac layers.
2. Level the excavated area using a laser level or string line to ensure a consistent depth and slope for proper drainage.
3. Compact the soil using a vibrating plate compactor to create a stable base.
Install Edge Restraints
Edge restraints are essential for preventing the tarmac from spreading and maintaining a clean, defined edge:
- Install edge restraints along the perimeter of the excavated area using concrete, timber, or specialized edging products.
- Ensure the restraints are level and securely fixed in place.
Lay the Sub-Base
A well-compacted sub-base is crucial for distributing the load and providing a stable foundation for the tarmac surface:
1. Spread a layer of crushed limestone or gravel evenly across the excavated area, aiming for a depth of at least 100mm (4 inches).
2. Compact the sub-base material using a vibrating plate compactor, ensuring a consistent and level surface.
3. Check the sub-base for any soft spots or irregularities, and address these issues before proceeding.
Final Preparations
Before the tarmac is laid, complete these final steps:
- Ensure the sub-base is clean and free of debris.
- Double-check the levels and slope of the sub-base to ensure proper drainage.
- Confirm that the edge restraints are secure and level.
A well-prepared site is essential for a successful tarmac installation that will stand the test of time.
Conclusion
Proper site preparation is crucial for achieving a durable, attractive, and long-lasting tarmac surface. Taking the time to carefully plan your project from start to finish can make all the difference in the final result. A solid, stable foundation is key, and attention to detail during the preparation process will ensure that your new surface stands up to wear and weather. By properly managing aspects like drainage, leveling, and compaction, you’re setting the stage for a successful installation that will last for years to come. When done correctly, your tarmac surface will not only enhance the curb appeal of your property but also provide a reliable and low-maintenance solution for everyday use. To see examples of high-quality tarmac installations and get inspiration for your own project, be sure to check out our portfolio of completed work, view our tarmac portfolio.


