How to Install a Stone Driveway Like a Pro: Complete Installation Guide
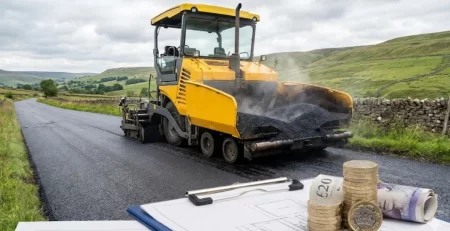
Installing a stone driveway yourself can save thousands in contractor fees while creating stunning curb appeal that increases your property value by up to 10%. Most homeowners believe professional installation requires specialized equipment and years of experience.
The truth is simpler. With proper planning, quality materials, and proven techniques, you can achieve contractor-level results in just one weekend. This comprehensive guide reveals the insider secrets that separate amateur attempts from professional installations.
You’ll discover the critical base preparation methods that prevent costly failures, learn drainage techniques that eliminate water damage, and master surface finishing tricks that create that polished, premium look. The biggest mistake most DIY installers make happens during the first hour and it’s completely avoidable when you know what to watch for.
Planning Your Stone Driveway Project
Proper planning ensures your stone driveway installation succeeds from start to finish. Before breaking ground, assess your property’s specific requirements and local regulations.
Choosing the Right Stone Material
Natural stone options include limestone, granite, sandstone, and slate. Each material offers unique characteristics in terms of durability, color, and maintenance requirements. Limestone provides excellent drainage and weather resistance, while granite offers superior strength for heavy vehicle traffic.
Crushed stone varieties range from fine screenings to larger aggregate sizes. The most common choices include pea gravel, crushed limestone, and decomposed granite. Consider your climate, expected traffic load, and aesthetic preferences when selecting materials.
Measuring and Designing Your Layout
Accurate measurements prevent costly material shortages or excess waste. Measure the driveway length, width, and account for any curves or slopes. Standard residential driveways typically measure 10-12 feet wide for single-car access and 18-24 feet for double-car width.
Design considerations include drainage patterns, existing landscaping, and integration with your home’s architecture. Plan for proper slope away from structures to prevent water accumulation and foundation damage.
Create detailed layouts that maximize functionality while enhancing your property’s visual appeal and ensuring proper drainage throughout the installation process. Look for surface displacement, edge erosion, drainage issues, and areas where professional driveway installer expertise might be needed for complex repairs.
Site Preparation and Excavation
Thorough site preparation forms the foundation of any successful stone driveway installation. This critical phase determines the longevity and performance of your finished surface.
Marking Utilities and Boundaries
Contact utility companies at least 72 hours before excavation begins. Underground cables, gas lines, and water pipes require professional marking to prevent dangerous accidents and costly repairs during digging.
Establish clear boundaries using spray paint or stakes to define the exact driveway footprint. This prevents accidental excavation beyond intended areas and ensures accurate material calculations.
Excavation Depth and Techniques
Excavation depth typically ranges from 8-12 inches, depending on your local climate and expected traffic load. Colder regions require deeper excavation to prevent frost heave damage during winter months.
Proper excavation techniques involve removing all organic material, including grass, roots, and topsoil. Use mechanical excavators for large areas or hand tools for smaller projects and tight spaces.
Grading and Slope Requirements
Establish proper grade with a minimum 2% slope away from buildings and toward drainage areas. This prevents water pooling and directs runoff to appropriate locations without causing erosion problems.
Check grade consistency using a laser level or string line system. Uneven grades create drainage issues and premature surface failure, requiring expensive repairs that could have been avoided with proper initial grading.
Invest time in meticulous site preparation to avoid future complications and ensure your stone driveway performs optimally for decades to come.
Base Layer Installation
A solid base layer provides crucial support for your stone driveway surface. This foundation determines how well your driveway handles weight loads and weather conditions over time.
Selecting Base Materials
Crushed stone base typically consists of angular aggregate ranging from 3/4 inch to fine particles. Angular stones interlock better than rounded materials, creating a more stable foundation that resists shifting under load.
Base thickness generally requires 4-6 inches of compacted material for residential driveways. Heavy-duty applications or poor soil conditions may require thicker base layers for adequate support and stability.
Compaction Methods and Equipment
Mechanical compaction using plate compactors or roller compactors ensures proper density and stability. Compact in 2-3 inch lifts rather than attempting to compact the entire base thickness at once.
Check compaction quality by walking across the surface. Properly compacted base material should not shift or depress under foot traffic. Inadequate compaction leads to surface settling and premature failure.
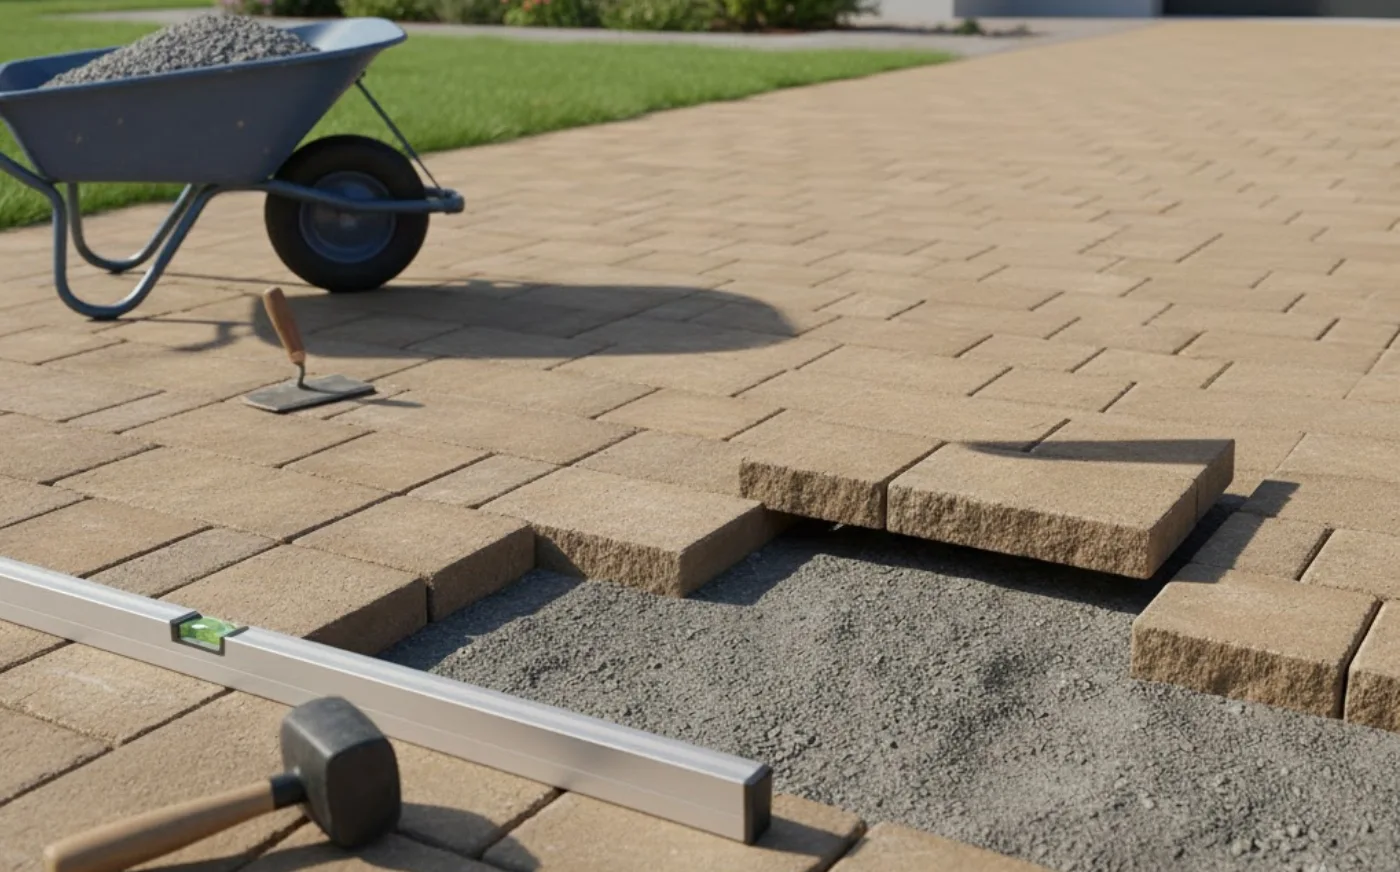
Edging and Containment Systems
Install edging materials before placing the final stone surface. Options include concrete curbing, metal edging, or natural stone borders that prevent lateral movement of surface materials.
Proper edging installation requires setting materials at the correct height and securing them with concrete or mechanical fasteners. Well-installed edging maintains driveway shape and prevents surface spreading over time.
Quality base installation requires patience and attention to detail, but creates the stable foundation essential for long-term driveway performance and minimal maintenance.
Surface Stone Installation

Installing the surface stone layer requires precision and technique to achieve professional results. This visible layer determines both the appearance and functionality of your completed driveway.
Stone Placement Techniques
Spread surface stone in thin lifts using rakes or mechanical spreaders. Avoid dumping large piles that create uneven thickness and difficult compaction. Maintain consistent depth across the entire surface area.
Target thickness for surface stone typically ranges from 2-3 inches before compaction. Different stone types require varying depths, so consult manufacturer specifications for optimal installation thickness recommendations.
Achieving Proper Density
Initial compaction should begin immediately after stone placement while materials remain workable. Use appropriate equipment for your stone type and project size, from hand tampers to mechanical compactors.
Multiple compaction passes ensure uniform density throughout the surface. Make overlapping passes in different directions to eliminate soft spots and achieve consistent surface hardness across the entire driveway.
Surface Finishing and Grading
Final grading creates the smooth, even surface that defines professional installation quality. Use landscape rakes or mechanical graders to eliminate high spots and fill depressions before final compaction.
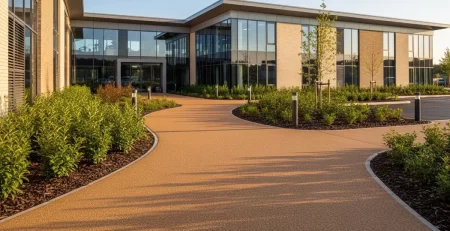
Crown the surface slightly higher in the center to promote water runoff toward edges. This subtle shape prevents water accumulation while maintaining an attractive, professional appearance that enhances your property’s value. For those considering alternatives, Resin driveways in Essex offer excellent durability with gravel-look resin surfaces providing similar aesthetics with easier maintenance.
Meticulous surface installation techniques separate professional results from amateur attempts, creating driveways that perform beautifully for years with minimal maintenance requirements.
Drainage and Water Management
Effective drainage prevents water damage and extends your stone driveway’s lifespan significantly. Poor drainage causes the most common driveway failures and expensive repair needs.
Installing Drainage Systems
French drains along driveway edges collect and redirect surface water before it penetrates the base layers. Install perforated pipe surrounded by graded gravel and covered with filter fabric.
Surface drainage channels direct water flow toward appropriate outlets. These may include existing storm drains, natural drainage areas, or specially constructed retention basins depending on local requirements and site conditions.
Preventing Water Infiltration
Proper surface crown encourages water runoff rather than infiltration into base materials. Even slight depressions can collect water and cause freeze-thaw damage in colder climates.
Edge sealing prevents water from undermining the driveway edges where surface materials meet adjacent areas. Use appropriate sealants or install barriers that maintain drainage while preventing erosion.
Managing Runoff and Erosion
Control runoff velocity using check dams, riprap, or other erosion control measures where concentrated water flow occurs. High-velocity runoff can erode adjacent landscaping and undermine driveway edges.
Integrate with existing drainage to ensure your new driveway doesn’t create problems for neighboring properties or violate local stormwater management regulations and requirements.
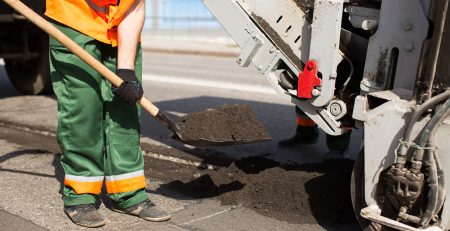
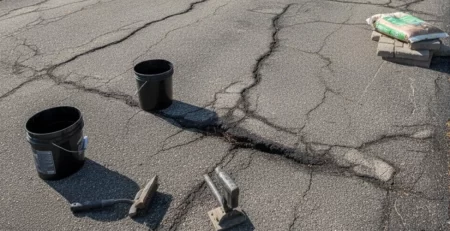
Driveways Pothole Repair services can restore functionality, while minor issues like repairing your driveway cracks can often be handled with simple maintenance techniques. Professional drainage planning prevents costly water damage and ensures your stone driveway remains stable and attractive throughout all weather conditions and seasonal changes.
Where Our Surfacing Services Are Available in UK?
Total Surfacing Solutions provides reliable driveway and surfacing services across key regions of the UK. We focus on Hertfordshire and Essex, ensuring customers in these areas receive high-quality, affordable, and long-lasting surfacing solutions.
Hertfordshire:
In Hertfordshire, we handle everything from new driveway installations to extensive resurfacing projects. Our services include tarmac surfacing, resin bound driveways, car park construction, playground surfacing, and durable line marking. Each project is carried out with precision to ensure a safe, attractive, and resilient finish that enhances your property.
Essex:
Our Essex operations cover resin driveway design, tarmacadam surfacing, driveway repairs, and commercial surfacing projects. We also specialise in sports and playground surfaces using high-performance materials designed to withstand heavy use. Every installation is built with durability and functionality in mind, ensuring long-term value.
Wherever you are in Hertfordshire or Essex, Total Surfacing Solutions is here to help you improve your outdoor spaces.
Our UK Service Coverage
Total Surfacing Solutions provides reliable driveway and surfacing services throughout the UK, with strong coverage across Hertfordshire and Essex. We support homeowners, businesses, and local authorities with long-lasting solutions tailored to a wide range of needs.
Hertfordshire:
In Hertfordshire, our team delivers high-quality surfacing work using trusted materials such as tarmac, resin bound mixtures, and other specialist finishes. Whether it’s a new driveway, a road resurfacing project, a commercial car park, or a playground upgrade, we ensure a smooth, durable surface designed to withstand everyday use. Our line marking services in Hertfordshire also help schools, retail parks, and industrial sites maintain clear, organised spaces.
Essex:
Throughout Essex, we offer premium surfacing solutions for properties of all sizes. Our surfacing services in Essex include resin driveway installations, tarmacadam surfacing, driveway restoration, commercial resurfacing, and safe, impact-resistant playground surfaces. We’re committed to delivering strong, long-lasting finishes that improve both safety and appearance.
Wherever you are in Hertfordshire or Essex, Total Surfacing Solutions is here to deliver dependable, professional surfacing built to last.
Frequently Asked Questions
How long does a stone driveway installation take?
Installation timeline typically ranges from 2-5 days for average residential projects, depending on size, complexity, and weather conditions. Proper preparation and base work require the most time, while surface installation proceeds relatively quickly once groundwork is complete.
Which Driveway is More Eco-Friendly: Stone or Resin?
Stone driveways generally offer superior eco-friendliness compared to resin alternatives due to their natural composition and minimal processing requirements. Natural stone materials like limestone, granite, and gravel require basic quarrying and crushing but avoid chemical manufacturing processes.
Can a Resin Driveway Handle Heavy Vehicles Instead of Stone Driveway?
Resin driveways excel at handling heavy vehicle loads when properly installed with adequate base preparation, often outperforming traditional loose stone surfaces in durability and weight distribution.
The bound nature of resin systems creates a solid, unified surface that spreads vehicle weight evenly across the entire driveway area, preventing the rutting and displacement common with loose stone materials.
Will a Resin Driveway Add Value to My Property Instead of Stone Driveway?
Both resin and stone driveways add significant property value, but resin installations often provide higher returns due to their modern appearance, low maintenance requirements, and perceived premium quality. Real estate professionals report that well-installed resin driveways in Hertfordshire can increase property values by 5-10%, similar to or slightly higher than quality stone installations.
Conclusion: Achieving Professional Stone Driveway Results
Successfully installing a stone driveway like a pro requires careful planning, quality materials, proper techniques, and attention to detail throughout every phase. From initial site preparation through final surface finishing, each step contributes to the overall success and longevity of your investment.
The key to professional results lies in understanding that shortcuts during installation inevitably lead to premature failure and expensive repairs. By following proven techniques for excavation, base preparation, drainage, and surface installation, you create a driveway that performs reliably for decades while enhancing your property’s appearance and value.
Remember that maintenance and care play crucial roles in preserving your stone driveway’s performance and appearance. Regular inspection, prompt attention to minor issues, and seasonal care requirements ensure your investment continues providing reliable service and attractive curb appeal for years to come.