Key Elements of High Quality Road Surfacing in the UK
A road can look smooth immediately after installation yet develop rutting, loose material, standing water or heat-related softening soon afterwards. These failures usually begin with an unsuitable material, a weak foundation, poor drainage or uncontrolled laying. Durable surfacing depends on the correct material, a stable and well-drained sub-base, and precise installation. This guide explains how those three elements connect and which checks reveal whether a road has been built for lasting performance.
Surfacing Tip: Build lasting performance from the ground up. Explore the key elements of high quality road surfacing UK .
Key Elements of High Quality Road Surfacing in the UK
High-quality surfacing is not simply a visible layer of asphalt. Its performance depends on advanced material selection, intelligent sub-base and drainage design, and precision installation methods working as one controlled system.
A road must carry repeated loads while resisting rain, temperature changes, braking forces and turning movements. If one element is weak, the finished surface can deteriorate even when the other elements appear correct.
| Quality element | Primary purpose | Failure when overlooked |
| Material selection | Matches the surface to traffic and climate | Rutting, cracking or polishing |
| Stable formation | Supports the entire pavement | Settlement and uneven levels |
| Sub-base construction | Spreads loads across the ground | Depressions and edge movement |
| Drainage design | Removes surface and trapped water | Standing water and weakened layers |
| Layer preparation | Creates secure adhesion | Slippage and separation |
| Controlled laying | Maintains depth and consistency | Uneven texture or thin areas |
| Timely compaction | Produces required density | Water entry and early deformation |
| Completion testing | Confirms measurable quality | Hidden faults remain undetected |
The correct sequence is important. Investigation determines the design, the design controls material and layer selection, and the selected system establishes the required laying and inspection process.
Property owners can explore the wider surfacing approach used by Total Surfacing Solutions when comparing road, car park and driveway requirements.
Step 1: Read the Site Before Choosing Materials
Every reliable surfacing specification starts with the conditions below and around the proposed pavement. A 35-word site review should identify vehicle loading, ground strength, existing defects, drainage routes and environmental exposure before any surface material is selected.
Record How the Surface Will Be Used
Traffic volume alone does not describe pavement stress. Heavy vehicles, slow turning, repeated braking and stationary loading can place concentrated forces on asphalt that ordinary moving traffic does not create.
The assessment should record:
- Vehicle types and approximate frequency
- Turning and braking locations
- Loading or unloading areas
- Expected changes in future traffic
- Existing wheel-path depressions
- Soft edges and visible settlement
- Utility covers and drainage crossings
A lightly used access route does not require the same pavement construction as a distribution yard. For heavier situations, this guide to durable road materials for heavy use provides a closer material comparison.
Investigate Existing Surface Failure
Cracks, potholes and uneven areas are evidence, not isolated cosmetic problems. Their shape and position can indicate water entry, weak support, movement between layers or loading that exceeds the existing design.
Simply covering the defect may hide it temporarily. The correct investigation determines whether local repair, resurfacing, deeper replacement or complete reconstruction is appropriate.
Step 2: Match Materials to Real Conditions
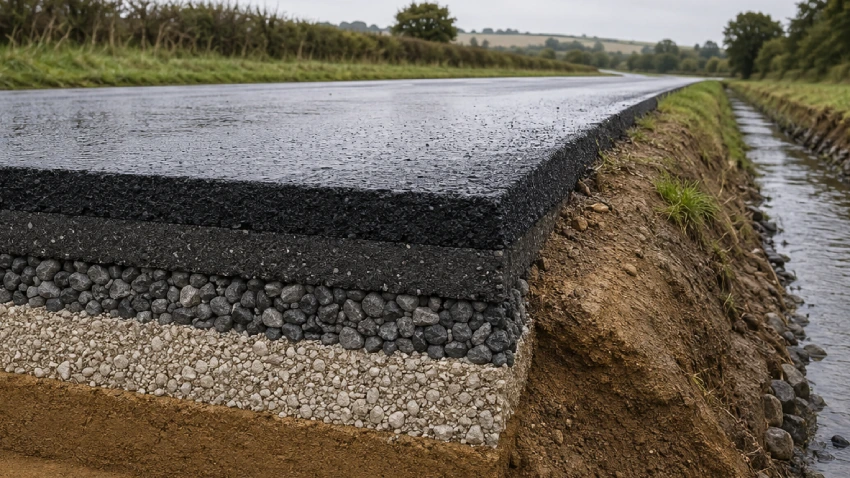
Advanced material selection means choosing aggregate, binder and mixture properties for a defined purpose. The strongest available mixture is not automatically suitable for every road, access route or parking area.
Connect Aggregate to Safety Demands
The surface aggregate contributes to texture, grip and resistance to polishing. Junctions, bends, gradients and braking areas usually demand closer attention because vehicles generate greater horizontal forces in these locations.
Selection should consider:
- Aggregate strength
- Resistance to polishing
- Resistance to abrasion
- Surface texture requirements
- Traffic speed and vehicle type
- Expected braking and turning
- Compatibility with the selected binder
A surface cannot be judged by colour or appearance alone. Texture and skid performance are engineering properties that must reflect the site’s risk and intended use.
Select Binder for Loading and Weather
The binder holds the aggregate structure together while allowing the asphalt to tolerate controlled movement. It must resist excessive softening during heat without becoming unsuitable for cooler conditions.
An inappropriate mixture may produce:
- Wheel-path rutting
- Binder movement toward the surface
- Loss of visible texture
- Cracking during temperature changes
- Aggregate loss
- Deformation at turning points
Modified binders can improve selected performance characteristics, but they are not a universal requirement. Their use must follow the project specification, traffic assessment and expected environmental conditions.
Choose the Correct Surface System
Dense asphalt, stone mastic asphalt, hot rolled asphalt, surface dressing and other treatments perform different roles. A thin preservation treatment should not be used as a substitute for rebuilding a structurally weak pavement.
Low-noise surfacing also requires careful site evaluation. Material structure, vehicle speed, maintenance and drainage can influence its suitability, as outlined in low-noise road materials explained.
Step 3: Build Strength Below the Surface
The visible course receives attention because people drive on it, but the supporting layers control its stability. A 34-word structural design must distribute traffic loads without allowing damaging movement, settlement or water-related weakening below the asphalt.
Separate the Function of Every Layer
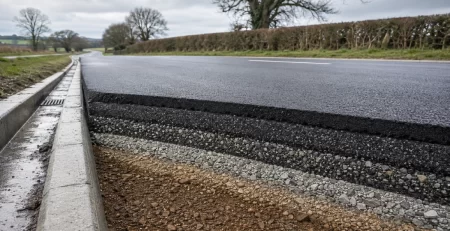
Each course performs a distinct task within a flexible pavement:
- Subgrade: The prepared natural ground supporting the construction
- Capping: An improvement layer used where formation strength requires it
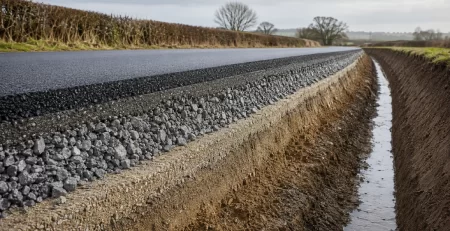
- Sub-base: A granular layer providing support and load distribution
- Base: The main structural pavement course
- Binder course: The intermediate asphalt layer distributing surface loads
- Surface course: The upper layer providing texture and traffic resistance
Removing a necessary layer or reducing its depth changes how stress reaches the ground. The road construction layers explained guide provides further context for each structural function.
Test the Formation Before Covering It
Weak ground should be identified before sub-base placement. Soft areas, uncontrolled fill or saturated soil can move after construction and create depressions that appear to be surface failure.
The formation should be:
- Excavated to the specified level
- Cleared of unsuitable material
- Protected from avoidable water exposure
- Tested where required by the design
- Stabilised or improved when necessary
- Checked before the next layer begins
Once asphalt covers a weak area, correcting it becomes significantly more disruptive. Early verification protects every layer placed above it.
Place Sub-Base in Controlled Layers
A thick volume of loose aggregate cannot be compacted reliably in one pass. The sub-base should be placed at controlled thicknesses so compaction energy can reach the full depth.
The finished sub-base needs consistent support, correct levels and suitable falls. Segregated aggregate, soft patches and loose edges must be corrected before the asphalt base is installed.
Step 4: Make Drainage Part of the Structure
Water affects both road safety and pavement strength. Good drainage does more than remove visible puddles because it also limits infiltration, protects the formation and prevents trapped moisture from weakening structural layers.
Shape the Surface Before Rain Arrives
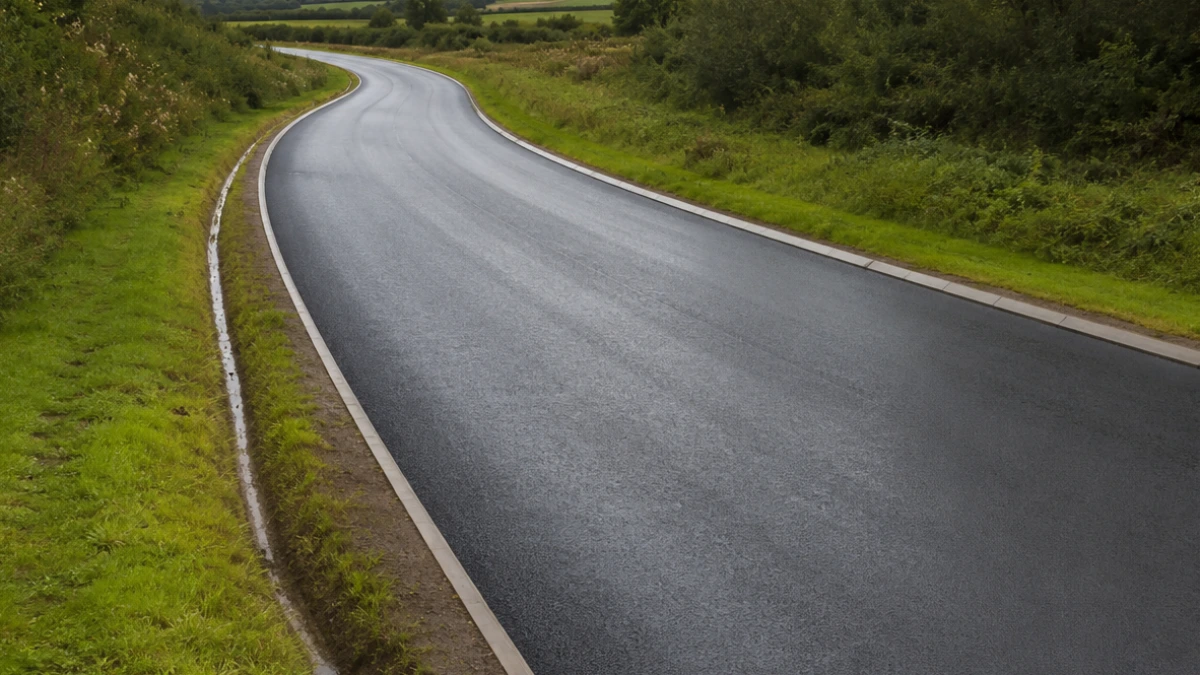
Crossfall, camber and longitudinal gradient direct water toward appropriate collection points. These features must be constructed into the pavement levels rather than corrected casually within the final surface course.
Poor profiling can create:
- Persistent standing water
- Spray during vehicle movement
- Water entry through joints and cracks
- Saturated pavement edges
- Localised surface deterioration
- Ice risk during cold conditions
Drainage covers should meet the surrounding level without creating a depression or raised obstruction. Channels must remain continuous and capable of moving water away from the trafficked surface.
Protect the Lower Pavement Layers
Surface drainage alone is insufficient where water can enter from surrounding ground, damaged edges or an unsuitable adjacent surface. Sub-surface drainage may be needed to stop moisture collecting within the construction.
The design must examine:
- Existing drains and outfalls
- Groundwater conditions
- Adjacent land levels
- Pavement edge restraint
- Permeable and impermeable surfaces
- Discharge capacity during intense rainfall
- Maintenance access for channels and gullies
Drainage is only reliable when water has a complete path from the pavement to an appropriate outlet. A channel without an effective discharge point simply moves the problem.
Step 5: Prepare Every Layer for Bonding
Strong materials cannot perform as a single pavement when their interfaces are contaminated or poorly bonded. A 33-word preparation process should remove loose material, correct defects and establish clean, stable levels before the next asphalt course is placed.
Repair Before Applying a New Course
Cracks, unstable patches and deformed areas should be investigated before resurfacing. Covering movement without addressing its cause allows stress to pass into the new layer.
Preparation may include:
- Removing failed or contaminated material
- Cutting repairs to stable boundaries
- Rebuilding weak underlying areas
- Cleaning dust and loose aggregate
- Correcting drainage levels
- Applying the specified bond treatment
- Checking edges and utility covers
The roles of the deeper asphalt courses are explained further in the base course and binder course guide.
Control Joints and Edges
Joints are vulnerable because they connect separate paving runs. Poorly formed joints can permit water entry, create weak edges or leave an uneven running line.
Longitudinal and transverse joints should be positioned, formed and compacted according to the specification. Unsupported edges also need proper restraint to prevent spreading or gradual breakdown.
Step 6: Control Delivery and Machine Laying
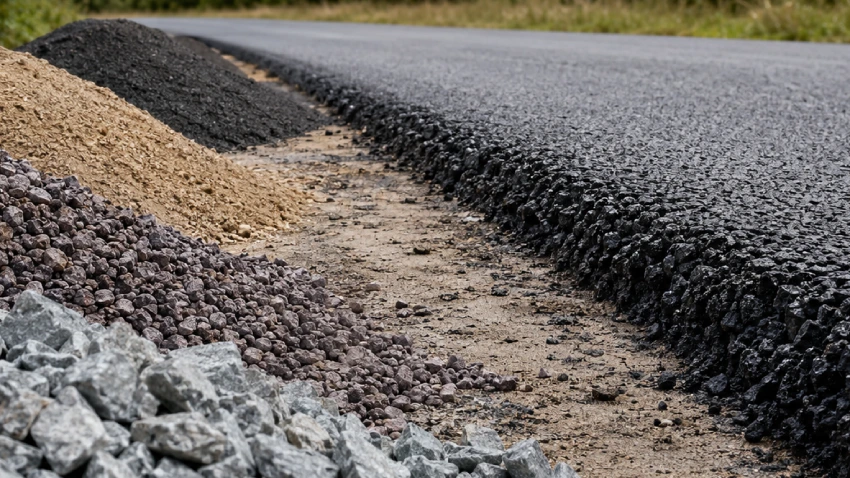
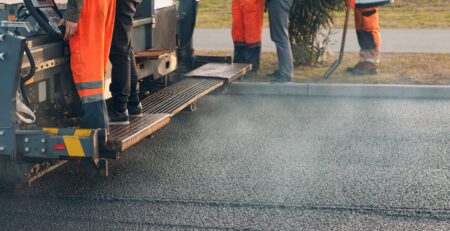
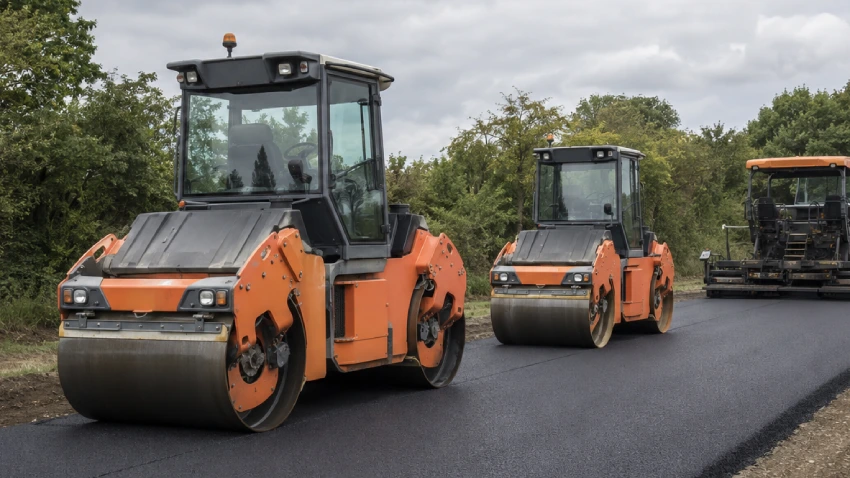
Precision installation begins before material reaches the paver. Asphalt temperature, delivery sequence, weather and site access must be coordinated so the mixture remains workable throughout laying and initial compaction.
Keep the Paver Moving Consistently
Repeated stopping can affect surface regularity and temperature consistency. Material delivery should support a steady laying operation without forcing long interruptions or allowing excessive cooling.
The paving team should control:
- Delivery temperature
- Weather and surface conditions
- Paver speed
- Screed setup
- Layer thickness
- Material feed
- Edge alignment
- Junctions between paving runs
Machine laying improves consistency across larger areas, but machinery does not correct an unsuitable design or badly prepared base. Levels and thickness must still be checked throughout the work.
Prevent Material Segregation
Segregation occurs when coarse and fine components become unevenly distributed. A segregated area may contain excessive voids, inconsistent texture and reduced durability.
Careful loading, transfer and paver operation help keep the mixture uniform. Visible coarse patches, torn material or uneven texture should be investigated before the surface is accepted.
Step 7: Compact Inside the Working Window
Compaction establishes density while the asphalt remains workable. If rolling begins too late or follows an unsuitable pattern, the surface may retain voids, move under the roller or finish at inconsistent levels.
Match Rolling to the Asphalt Mixture
The rolling sequence should suit the material, layer depth, temperature and equipment. The aim is controlled density without crushing aggregate or creating roller marks.
Key controls include:
- Starting at the appropriate temperature
- Maintaining a consistent rolling pattern
- Avoiding sudden stops on hot material
- Compacting joints and edges carefully
- Monitoring density where specified
- Preventing displacement near covers
- Completing rolling before excessive cooling
Under-compaction can increase permeability and reduce stability. Overworking a cooling mat may damage texture without delivering useful additional density.
Do Not Use Traffic as the Main Compactor
Traffic may help seat chippings during a properly controlled surface-dressing process. It must not be treated as a substitute for specified compaction during asphalt construction.
Road rollers and suitable compaction equipment create controlled pressure across the installed layer. Passing vehicles deliver irregular wheel loads and cannot confirm uniform density.
Step 8: Inspect What Appearance Cannot Prove
A new black surface can conceal variation in depth, bond, density or support. Completion checks should therefore examine measurable performance as well as visible finish before the road enters unrestricted use.
Check the Finished Surface Systematically
A practical inspection should assess:
| Inspection point | What the check should identify |
| Surface regularity | Bumps, depressions and inconsistent profile |
| Drainage performance | Standing water and interrupted falls |
| Texture | Smooth, polished or segregated areas |
| Compaction | Density and visible roller defects |
| Joints | Open seams, weak edges and level differences |
| Utility covers | Incorrect levels or unsupported margins |
| Thickness | Compliance with the specified construction |
| Material condition | Tearing, contamination or binder movement |
Testing requirements depend on the project and governing specification. The inspection plan should be agreed before installation so acceptance does not rely on appearance alone.
Record the Completed Construction
Accurate records make later maintenance decisions stronger. They may include material details, delivery information, layer depths, weather conditions, test results and photographs of hidden construction stages.
These records help distinguish surface wear from underlying structural failure. They also provide a clear baseline when future changes are inspected.
Step 9: Prepare for Heat and Heavy Rain
A UK pavement must tolerate wet conditions, temperature changes and occasional extreme heat. A 35-word resilience plan should identify vulnerable materials, binder-rich areas, drainage restrictions and early warning signs before weather turns a manageable weakness into surface failure.
Watch for Fatting-Up in Hot Conditions
A shiny or sticky surface can indicate that softened binder is moving around or above the aggregate. Tyres may lift material, and the visible texture may reduce.
Immediate management can include inspection, traffic control and temporary dusting where appropriate. These actions manage the immediate condition but do not establish why the surface became vulnerable.
The investigation should consider:
- Existing binder content
- Previous surface treatments
- Aggregate embedment
- Road-surface temperature
- Heavy or slow-moving traffic
- Texture loss
- Local braking and turning forces
Repeated fatting-up may require a different remedial treatment rather than another thin application over the same binder-rich surface.
Inspect Water Paths After Rain
Rainfall reveals level and drainage problems that may not be visible in dry conditions. Post-installation inspection should identify puddles, overflowing channels, blocked gullies and water collecting along pavement edges.
Early correction protects the supporting structure. Water that repeatedly enters joints, cracks or unrestrained edges can weaken the pavement long before widespread surface damage appears.
Road Surfacing Principles Across Five Areas
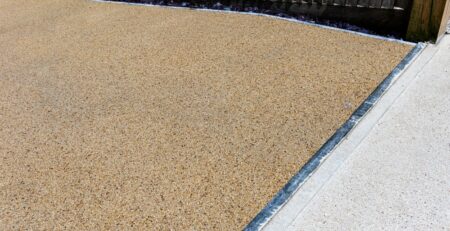
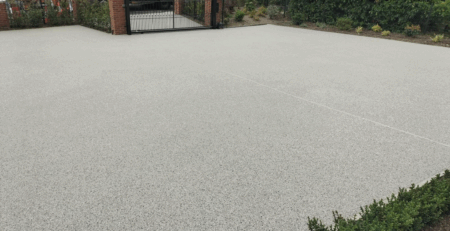
Material selection, drainage and installation requirements change with individual ground conditions and use. The same quality principles guide residential resin-bound surfacing when the base, permeability and edge details are designed correctly.
Resin Bound Driveways in Bedfordshire
Bedfordshire properties may contain old concrete, asphalt, gravel or previously patched driveway bases. The existing construction must be inspected before deciding whether it can support an overlay or requires rebuilding.
For local surface preparation, drainage and installation information, explore resin bound driveways in Bedfordshire.
Resin Bound Driveways in Oxford
Oxford driveway projects can involve restricted access, established boundaries and existing drainage levels. These conditions make accurate excavation depth, edge restraint and material movement particularly important.
Review the local preparation and installation approach for resin bound driveways in Oxford.
Resin Bound Driveways in Cambridgeshire
Cambridgeshire ground conditions vary between individual sites, so surface design should follow an actual formation assessment. A permeable finish still needs a compatible, stable and properly constructed supporting base.
Explore drainage, base preparation and finish options for resin bound driveways in Cambridgeshire.
Resin Bound Driveways in Essex
Essex driveways exposed to regular vehicle turning need reliable edge support and consistent base strength. Weak margins or poorly repaired areas may later become visible through movement in the finished surface.
Find area-specific preparation and installation information for resin bound driveways in Essex.
Resin Bound Driveways in Hertfordshire
Hertfordshire driveway design should account for existing levels, drainage routes and the condition of the current surface. Resin-bound material should not be used to conceal an unstable or badly cracked base.
Explore preparation and finish choices for resin bound driveways in Hertfordshire. Commercial readers can also review Hertfordshire car park surfacing factors.
Frequently Asked Questions
These questions target related search concerns without repeating the main sections already covered.
What is the difference between asphalt and tarmac?
Modern UK surfacing commonly uses asphalt made from graded aggregate, filler and bitumen. Tarmac originally referred to a tar-bound material, although people now frequently use the word informally for several black paved surfaces.
The exact material should be identified from its specification rather than its everyday name. Different asphalt mixtures have different aggregate structures, binder grades and intended uses.
How long before vehicles can use new asphalt?
Opening time depends on the mixture, layer depth, surface temperature, weather and project specification. The surface must cool and become stable enough to resist marking or displacement from vehicle loads.
Access should only resume when the paving team confirms that the surface is ready. Slow turning and stationary steering can place severe stress on material that remains warm.
Why do utility trenches sink after reinstatement?
Settlement can occur when excavation fill or pavement layers are not compacted consistently. Water entry, unsuitable backfill and inadequate support around utility apparatus can also contribute.
A durable reinstatement requires controlled layer thickness, suitable material and compaction throughout the excavation. Correct surface material alone cannot compensate for movement below it.
Can asphalt be laid during rain?
Asphalt should not be placed onto a surface whose condition prevents adhesion or proper compaction. Rain can cool material, introduce moisture and interfere with bonding between courses.
Weather limits depend on the mixture and specification. The site should be assessed before laying rather than relying on a single general rule for every project.
Why does a new road sometimes look patchy?
Temporary colour differences can result from temperature, aggregate orientation or separate paving runs. However, coarse patches, tearing, open texture or visible segregation may indicate a construction issue.
Patchiness should be inspected in context. Colour alone is not proof of failure, but differences accompanied by texture or density variation require closer assessment.
Build Quality Into Every Course
High-quality road surfacing in the UK comes from a connected process. Material selection must suit the loading, the sub-base must provide stable support, drainage must remove water, and installation must control depth, temperature and density.
The strongest finish is achieved before the final course is laid. Investigation, layer preparation and measurable quality checks prevent visible defects from becoming repeated structural problems.