How to Seal Driveway Pavers?
Driveway pavers often fail after sealing because the surface was dirty, damp, under-sanded, or coated too heavily. A serious finish needs expert preparation before any sealer touches the driveway, especially when oil, moss, loose joints, and old residue are already present.
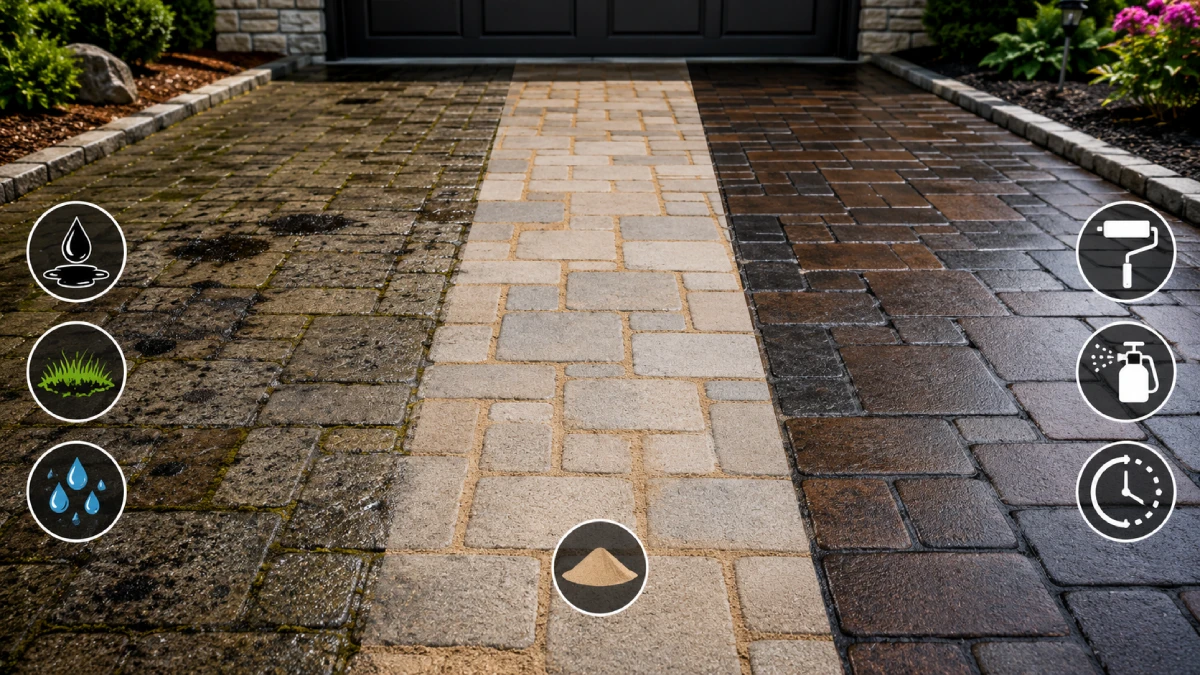
The safest method is simple: clean the pavers, replenish the joint sand, then apply the sealer and let it cure without rushing traffic back onto the surface. If your driveway already has drainage issues, loose areas, or repeated staining, it may also be worth comparing sealing with a longer-term driveway surfacing solution before spending money on another short-term coating.
Need a cleaner, longer-lasting finish? For expert help with Seal driveway pavers, visit our service page and see how we can help protect your driveway surface.
How to Seal Driveway Pavers?
Sealing pavers is not a one-step coating job. It is a controlled surface process with cleaning, drying, joint support, sealer selection, and curing. Each stage prevents a specific failure.
The correct sequence is: clean the pavers, replenish the joint sand, then apply the sealer and let it cure. This process protects the surface from oil stains, moisture absorption, tyre marks, UV fading, weeds, and joint erosion. When done badly, the same job can cause white haze, streaks, slippery patches, and peeling.
If the driveway is already loose, sunken, or heavily stained, sealing will not hide the real problem. In that situation, ask Total Surfacing Solutions to assess whether sealing, repair, or a new surface would give the better long-term result. This matters because a sealer protects a sound driveway, but it cannot rebuild a failed base.
Quick Answer Table for the Full Sealing Process
| Stage | What to Do | Why It Matters | Main Risk If Skipped |
| 1 | Inspect the driveway | Finds loose pavers, oil, moss, and old sealer | Defects get locked in |
| 2 | Clean the pavers | Removes dirt, algae, stains, and residue | Dark patches and poor bonding |
| 3 | Let it dry | Removes trapped moisture from joints | White haze and peeling |
| 4 | Replenish joint sand | Supports pavers under vehicle pressure | Weeds, ants, and movement |
| 5 | Apply sealer thinly | Creates controlled protection | Bubbling and slippery patches |
| 6 | Let it cure | Allows the coating to harden | Tyre marks and surface damage |
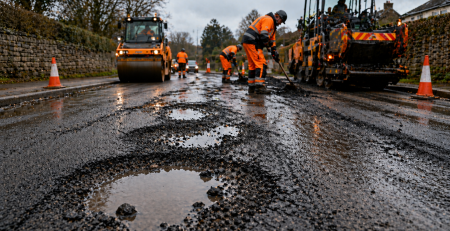
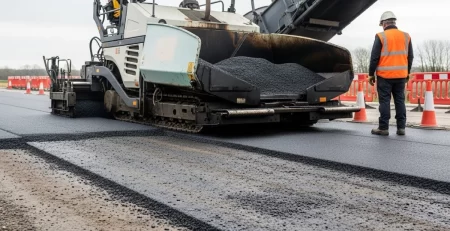
First Check the Driveway Like a Pro
A good sealer job begins before cleaning starts. The inspection tells you whether the driveway needs maintenance or repair first. Skipping this step is how stains, loose pavers, and drainage faults become sealed-in problems.
Look for loose or sunken pavers where tyres turn or park every day. These sections should be lifted, levelled, compacted, and reset before sealing. A clear coat over movement only protects the defect for a short time.
Check for oil stains, tyre marks, rust, moss, algae, weeds, missing sand, and white residue. Oil needs degreasing, moss needs removal, and white residue may need a suitable paver cleaner. If the pavers are coated with old peeling sealer, sealing over it will usually make the finish worse.
Also check where water sits after rain. Standing water can weaken joints, stain the surface, and shorten sealer life. If drainage is poor or the driveway keeps moving, review proper road base preparation before spending money on surface protection.
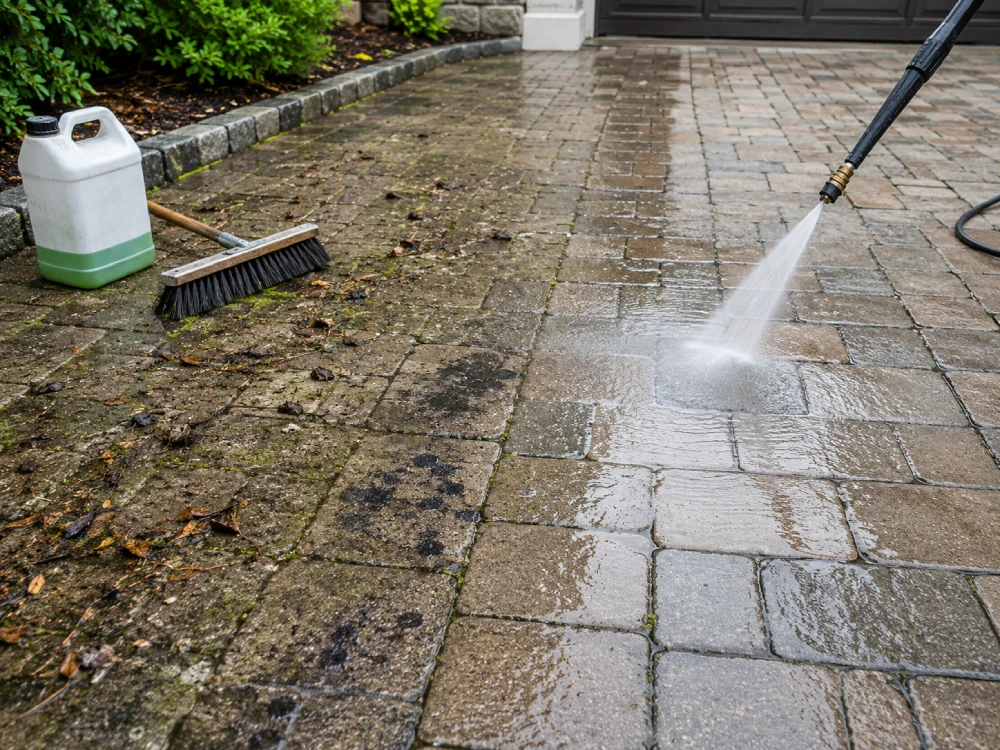
Clean the Pavers Before Any Sealer Touches
Cleaning is the most important visible stage. Any dirt left behind can become permanent once sealed. The driveway must be clean enough for the sealer to bond, not just look rinsed from a distance.
Start with a stiff broom and remove loose debris from every edge. Pull weeds from the joints and scrape out moss roots instead of only cutting the top growth. For a deeper cleaning workflow, connect this stage with a full paver cleaning maintenance guide.
Use a paver-safe cleaner for general grime and an oil degreaser for vehicle stains. Heavy oil should be treated more than once because old oil can sit deep inside porous pavers. Sealer will reduce future staining, but it will not erase dark marks already absorbed into the surface.
Pressure washing helps when done with control. Use moderate pressure, a wide fan tip, and a steady distance to avoid etching the paver face. Do not blast straight into the joints because that can remove too much bedding support.
Let the Surface Dry or Expect White Haze
Drying is where many DIY sealing jobs fail. Pavers can look dry on top while the joints still hold moisture. That hidden moisture can turn a clear finish cloudy, milky, or patchy.
Allow at least 24 to 48 hours of dry weather after washing. Shaded areas near walls, trees, and garage edges may need longer. If the driveway still feels cool or damp in the joints, wait.
Check the weather before applying sealer. You need a dry surface, dry joints, and no immediate rain risk during curing. Do not seal after rain, early morning dew, or polymeric sand activation unless the surface has dried fully.
Moisture-related haze is hard to correct. Sometimes the failed sealer must be stripped before the job can be repeated. This is why patience is cheaper than repair.
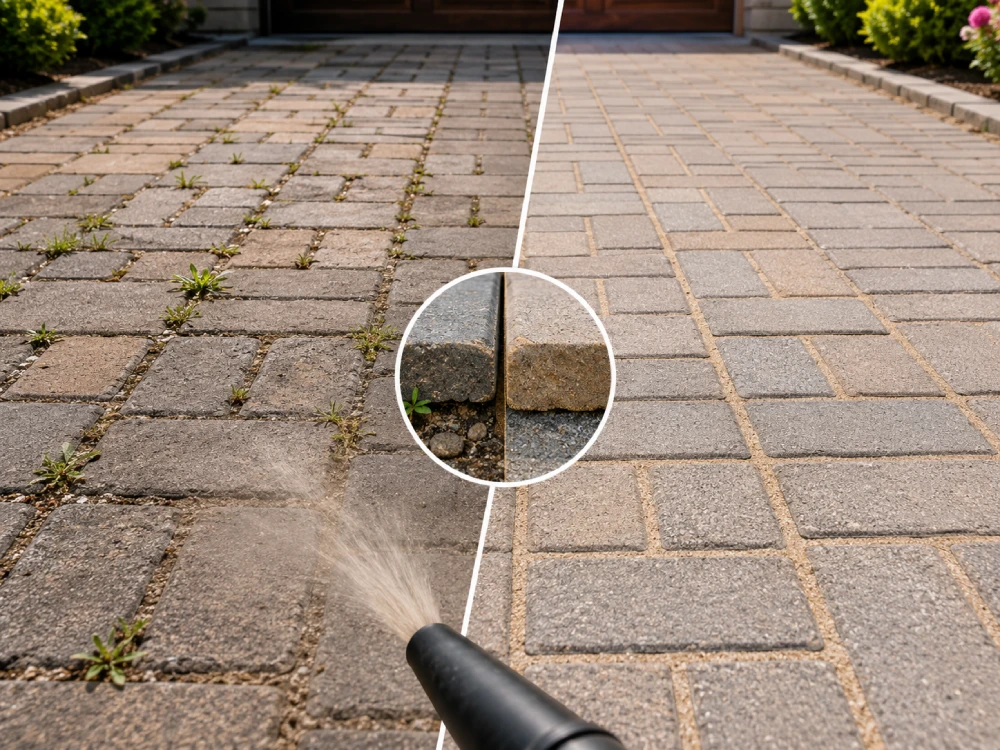
Replenish the Joint Sand the Right Way
Joint sand is not cosmetic. It locks pavers together and helps the driveway handle tyre pressure. Without enough sand, pavers can shift, weeds can root, and water can move through the joints.
Use kiln-dried jointing sand or polymeric sand depending on the driveway condition and product instructions. Sweep the sand diagonally across the surface so it drops evenly into the gaps. Fill joints close to the bevel line, but do not leave sand piled on the paver face.
Remove excess sand before sealing. A soft broom and low-power blower can clear fine dust from the surface. If polymeric sand dust remains, it can stain, haze, or bond to the paver face when moisture or sealer touches it.
Do not treat sealing as a replacement for proper sanding. A film-forming sealer can help stabilise joint sand, but only if the joints are already filled correctly. If your driveway often loses sand after rain, compare the issue with a porous resin driveway surface so you understand whether drainage and permeability are part of the bigger problem.
Choose the Sealer by Risk, Not Shine
The best sealer is not always the glossiest one. It should match the paver material, slope, traffic level, drainage, and finish goal. A wrong product can create slipperiness, colour change, peeling, or poor breathability.
A penetrating sealer is usually best when you want a natural look. It absorbs into the paver and helps resist water without creating a shiny film. This is useful on sloped driveways or areas where traction matters.
A film-forming sealer sits on the surface and can deepen colour. It is useful when older concrete pavers look faded or when stronger joint stabilisation is needed. It must be applied thinly because thick coating can bubble, peel, or become slippery when wet.
Water-based sealers are often easier to apply and usually have lower odour. Solvent-based sealers often deepen colour more, but they need careful handling, safe ventilation, and better application control. Always test a small hidden area before coating the full driveway.
Apply the Sealer and Let it Cure
This is the point where preparation becomes protection. The surface must be clean, dry, sanded, and ready before application starts. Thin control matters more than fast coverage.
Use a pump sprayer, roller, or both depending on the sealer type. A sprayer gives even coverage across textured pavers, while a roller can help level product and remove puddles. Edges near walls, garage doors, and kerbs should be cut in carefully with a brush.
Apply a thin, even coat in small sections. Keep a wet edge so lap lines do not show. If product collects in low spots or joints, back-roll it before it dries.
A second coat may help on porous or faded concrete pavers. Apply it only when the product instructions allow it and within the correct recoat window. Two light coats are safer than one heavy coat.
Curing is part of the job, not an optional wait. Keep foot traffic away during early drying and keep vehicles off until the sealer has hardened. In many driveway conditions, 48 to 72 hours is the safer vehicle wait window.
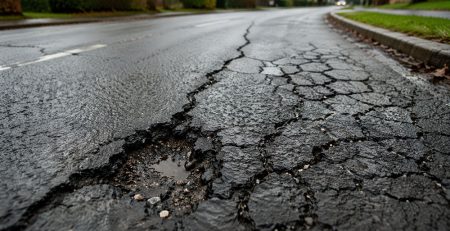
Mistakes That Ruin a Sealed Driveway
Most failed paver sealing jobs come from simple mistakes. The common pattern is rushing preparation, over-applying product, or using the wrong sealer. These errors often cost more to correct than the original job.
Do not seal over dirt, oil, moss, algae, damp joints, or loose sand. These materials stop proper bonding and create patchy results. If the driveway is heavily stained, repeat cleaning before moving forward.
Do not apply sealer in direct extreme heat. Hot pavers can make the product flash-dry before it levels. That can leave streaks, roller marks, pinholes, or uneven gloss.
Do not assume sealer fixes surface failure. If the driveway is cracked, unstable, or repeatedly holding water, the base or surface design may be the bigger issue. For related comparisons, see the painted concrete driveway guide and the fatigue cracking impact guide.
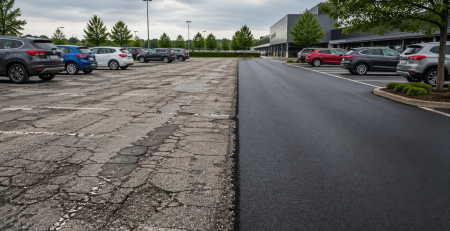
When Sealing Is Not the Right Fix?
Sealing protects a driveway that is already stable. It cannot correct sunken pavers, weak edges, poor drainage, or a tired surface that needs replacement. This is where a repair-or-replace decision becomes important.
If the pavers are badly stained, uneven, slippery, or constantly losing sand, a new surface may be more practical. Homeowners comparing long-term options can review a driveway material budget overview and resin driveway spending factors. These guides help compare maintenance cost against a more durable upgrade.
For homeowners wanting a cleaner, permeable, low-maintenance finish, resin may be the stronger choice. Explore resin bound driveways in Bedfordshire, resin bound driveways in Oxford, and resin bound driveways in Cambridgeshire if your existing pavers keep failing.
Local surface conditions also matter. Homeowners can compare resin bound driveways in Essex and resin bound driveways in Hertfordshire when repeated sealing no longer solves drainage, staining, or kerb appeal problems. For the full upgrade discussion, speak with Total Surfacing Solutions before resealing an unstable driveway.
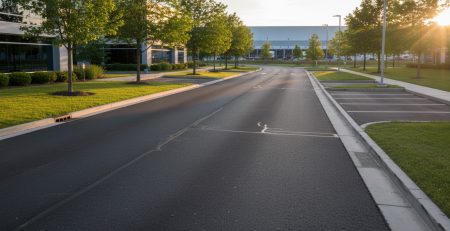
Finish With a Maintenance Plan
A sealed driveway still needs care. The aim is to protect the coating, keep the joints clear, and spot problems early. Small maintenance avoids early resealing and surface decline.
Rinse spills quickly, especially oil, brake fluid, and fuel. Sweep leaves before tannin stains settle into the surface. Avoid aggressive pressure washing because it can remove joint sand and weaken the finish.
Check the driveway once or twice a year. Look for water soaking in, faded colour, joint erosion, moss, weeds, or tyre tracking. If you upgrade to resin later, follow a separate resin driveway care process instead of using paver sealing methods.
FAQs
Can old sealer be sealed over safely?
Only if the old sealer is still bonded, clean, and compatible with the new product. If it is white, peeling, sticky, or patchy, it should usually be stripped first. Sealing over failed coating often makes the driveway look worse.
Why did my paver sealer turn white?
White sealer usually comes from trapped moisture, over-application, residue, or polymeric sand haze. It can also happen when pavers were sealed before the joints dried fully. The best prevention is full cleaning, full drying, and thin coats.
Is polymeric sand better before sealing?
Polymeric sand can be useful where weeds, ants, and washout are common. It must be installed and activated correctly before sealing. If dust remains on the paver face, it can create haze or surface staining.
Will sealing stop weeds permanently?
No, sealing can reduce weed growth, but it will not stop weeds forever. Seeds can still settle into dirt that collects on top of the joints. Regular sweeping and joint maintenance still matter.
How often should driveway pavers be resealed?
Many driveways are resealed around every three to five years. Heavy traffic, poor drainage, strong sun, or frequent cleaning can shorten that cycle. Use the water bead test and colour fading as practical warning signs.
Conclusion
The safest way to seal driveway pavers is to work in the right order. Clean the pavers, let them dry fully, replenish the joint sand, then apply the sealer and let it cure without rushing traffic. If the driveway is already unstable or costly to maintain, Total Surfacing Solutions can help compare repair, sealing, and replacement options before more money is spent on a failing surface.